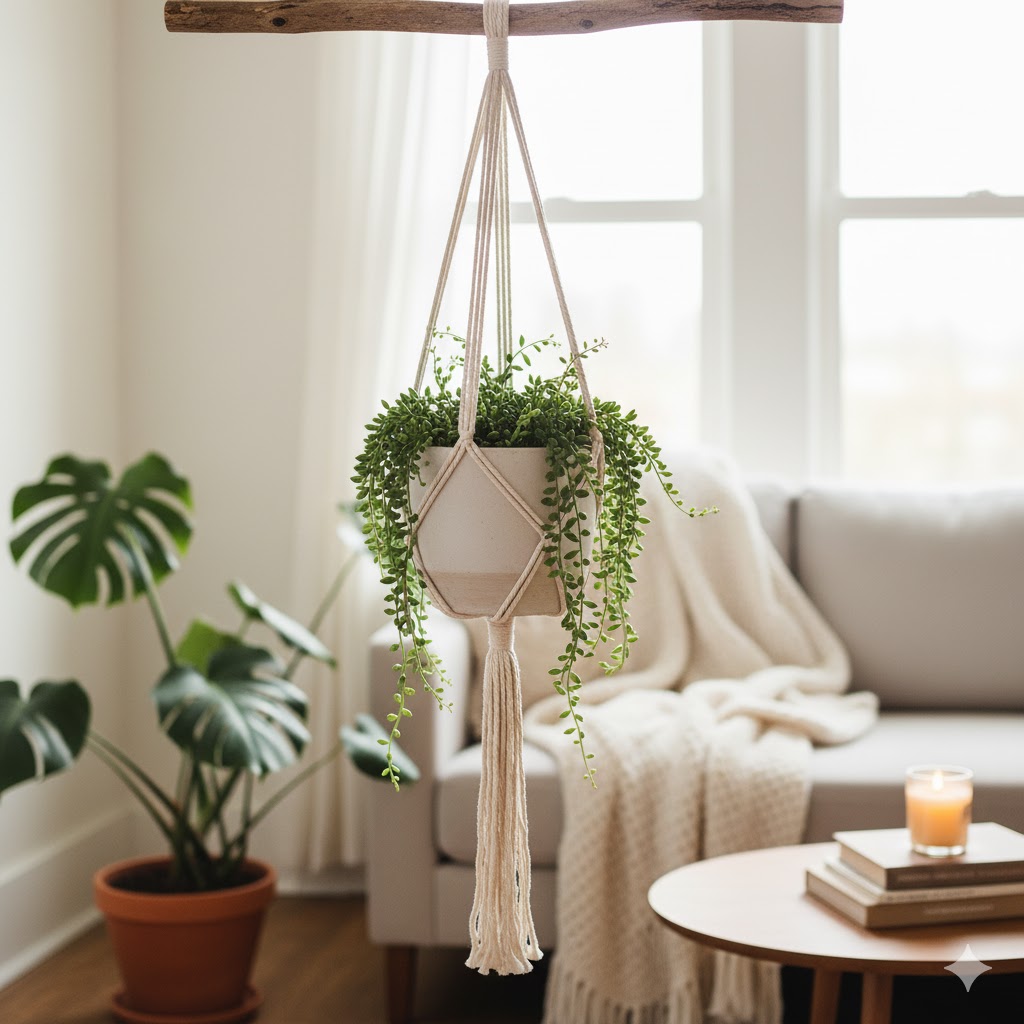
There’s nothing that instantly elevates a home’s cozy factor quite like adding greenery. Plants bring life, freshness, and a calming energy to any room. But how you display them is just as important as the plants themselves!
If you love that soft, textural, bohemian style—the one that whispers “Cozy Crafted”—then you’re probably already a fan of macrame. These knotted rope creations are a perfect blend of vintage charm and modern minimal design, and they are incredibly trendy right now.
The best part? Making your own macrame plant hanger is far simpler than it looks, even if you’ve never tied a single knot! Today, we’re going to guide you through the process, mastering just two simple knots to create a stunning, budget-friendly piece of boho decor that will transform your plant game and infuse your space with handmade charm.
🌟 WHY MACRAME IS THE PERFECT DIY PROJECT
Macrame, the art of knotting cord into patterns, dates back centuries but has seen a massive resurgence thanks to the renewed focus on texture and natural materials in home decor.
- Zero Waste & Budget-Friendly: All you need is some inexpensive cotton cord and a few basic tools. It’s a sustainable craft that utilizes materials beautifully.
- Therapeutic and Mindful: The repetitive nature of knotting is incredibly meditative. It’s a wonderful way to unwind and engage in a calming activity—a true form of self-care.
- Customization Power: Once you learn the basic knots, you can customize the length, the thickness, and the color of your DIY Macrame Plant Hanger to fit any pot or corner of your home.
Tools and Materials: Gathering Your Cozy Essentials
Before we start knotting, ensure you have everything ready.
| Item | Description | Cozy Crafted Tip |
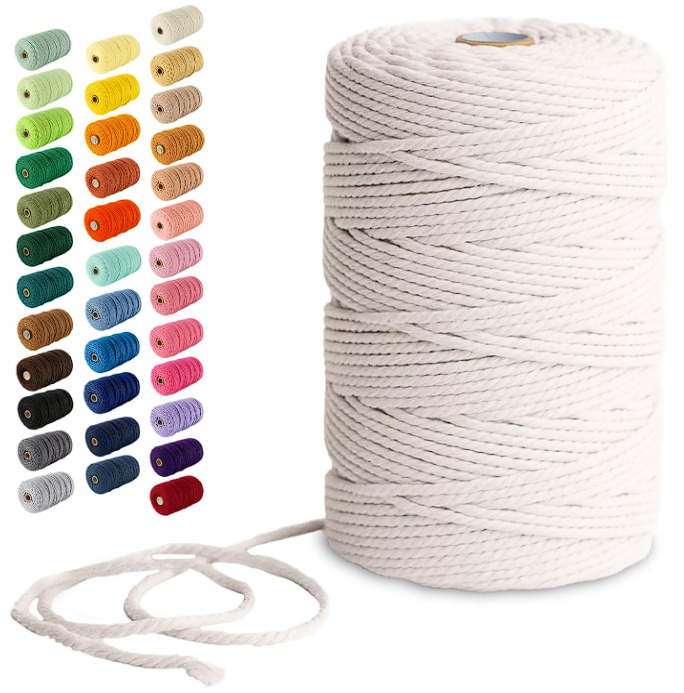
| Cotton Macrame Cord (3-5mm) | About 150-200 feet (45-60 meters) total. | Natural unbleached cotton cord gives the best boho/cozy texture. |
| Wooden or Metal Ring | 2-3 inch diameter. This is where your hanger will hang from. | A simple wooden dowel also works well for a modern look. |
| Scissors | Sharp pair. | |
| Measuring Tape | To ensure your cords are cut accurately. | |
| S-Hook and Clamp | To hang your project while working (essential!). | Hang it from a door handle or clothes rack. |
The Cord Cuts (For a standard 3-foot hanger):
- 4 pieces of cord, 12 feet (3.6 meters) each.
- 1 piece of cord, 3 feet (90 cm) for the Gathering Knot.
Mastering the Basic Knots for Your DIY Macrame Plant Hanger
Our beginner-friendly design uses only two fundamental knots. Practice these a few times before starting your main project!
1. The Square Knot (The Structural Knot)
This is the most essential macrame knot, creating a beautiful flat spiral.
- Four Cords: A Square Knot requires two Working Cords (outer cords that knot) and two Filler Cords (inner cords that remain straight).
- Step A (The ‘4’ Shape): Take the left working cord, cross it over the two filler cords, and under the right working cord (making a ‘4’ shape).
- Step B (The Tuck): Take the right working cord, pass it under the two filler cords, and up through the loop created by the left cord. Pull both working cords tightly and evenly to secure the first half.
- Step C (Mirror Image): Repeat Steps A and B, but start from the right side (making a backward ‘4’). This completes one full Square Knot.
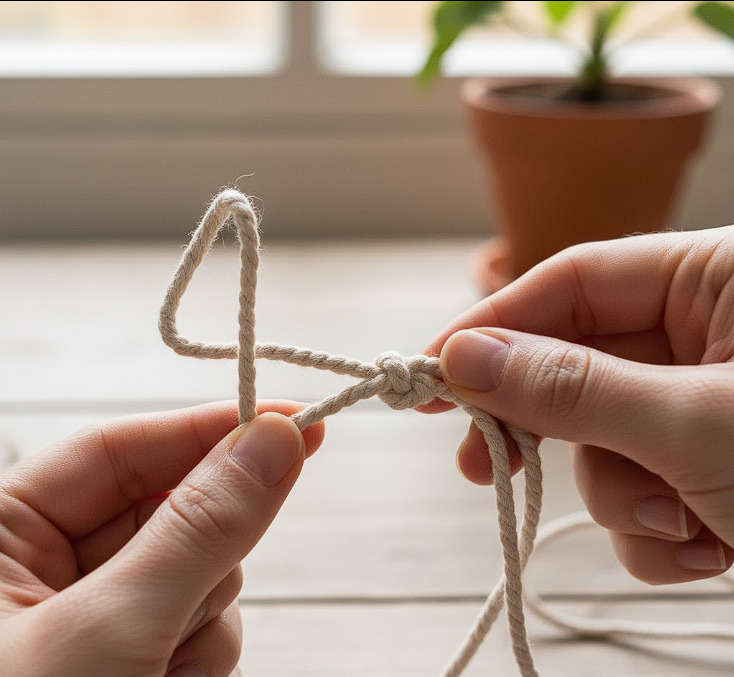
2. The Gathering Knot (The Finishing Knot)
This knot is used to secure the top and bottom sections, giving your hanger a clean, professional finish.
- Loop: Lay your short 3-foot cord beside the main bunch of cords, forming a small U-shaped loop pointing down.
- Wrap: Take the tail of the 3-foot cord and tightly wrap it around the main bunch, covering the loop, working your way down 6-8 times.
- Secure: Thread the tail of the wrapping cord through the small loop at the bottom. Pull the top tail (the one sticking out) until the loop and the knot are pulled halfway up and hidden beneath the wraps. Trim the excess.
Step-by-Step Tutorial: Assembling Your DIY Macrame Plant Hanger
Now that you know the knots, let’s build the hanger!
Phase 1: The Top and Suspension
- Mount the Cords: Take your four 12-foot cords, fold them exactly in half, and thread the loop through your wooden/metal ring. Secure them with a simple Lark’s Head Knot (pass the loop over the ring, pull the tails through the loop). You now have 8 working strands hanging down.
- The Top Gathering Knot: Use the 3-foot cord to create a tight Gathering Knot just below the ring (about 1-2 inches below). This anchors all 8 cords neatly.
- Divide and Knot: Divide your 8 cords into four groups of two. Measure down 8-10 inches from the bottom of the Gathering Knot. This gap will be plain cord.
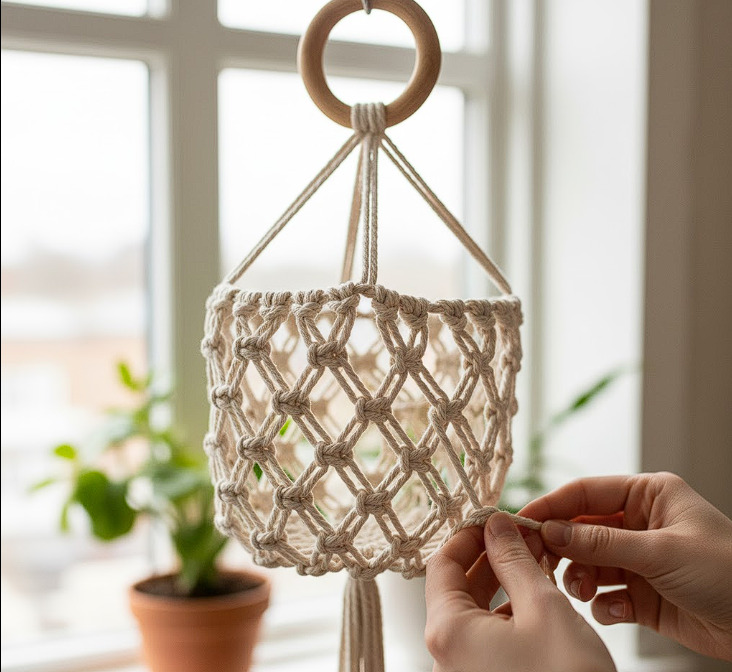
Phase 2: The Decorative Body
- First Square Knot Row: In each of the four groups, use your four cords to tie a chain of 4-5 Square Knots. This forms the decorative top section.
- The Netting (The Crucial Step!): Measure down another 2-3 inches from the bottom of your first knot chain. Now, split each group of four into two pairs (two cords from the left, two from the right).
- The Zig-Zag: Take the right two cords from Group 1 and the left two cords from Group 2. Tie a single Square Knot with these four cords. Repeat this process with the remaining groups. This creates the essential netting pattern that holds the pot.
- Second Netting Row: Measure down 2 inches again from this row. Repeat the knotting process from Step 3, taking the left two cords from the new knot and the right two cords from the knot next to it. You should end with the cords from the very first and last groups meeting up.
Phase 3: The Basket and Finishing
- The Basket Base: Measure down 4-6 inches from your last knot. Now, bring all 8 cords together.
- The Bottom Gathering Knot: Use your final 3-foot cord to tie a large, tight Gathering Knot that secures all 8 cords. This knot defines the bottom of the basket where the pot will rest.
- Trim and Fringe: Place your pot into the basket to test the fit. Trim the excess cord below the final Gathering Knot to create a fringe. You can brush out or unravel the cord for a softer, more bohemian look.
DIY Macrame Plant Hanger: Troubleshooting and Expert Tips
- Tension is Key: Always pull your knots evenly and tightly to prevent them from slipping or looking sloppy.
- Spiral Knot Variation: If you only tie the first half of the Square Knot (the ‘4’ shape) repeatedly, the cord will naturally twist, creating a beautiful Spiral Knot chain. Use this to vary the design!
- Cord Length: It’s always better to cut your cords longer than you think you need. You can always trim the excess, but you can’t add length back!
- Indoor vs. Outdoor: For outdoor use, choose a synthetic or treated cord that is resistant to moisture and sun fading. For the cozy indoor look, stick with natural cotton.
Complete this beautiful macrame piece with these extremely beautiful indoor plants
This macrame piece is the perfect complement to your indoor plants! If you want tips on keeping them thriving, check out our guide on The 5 Easiest Indoor Plants for Beginners
Take advantage of this incredible Amazon offer and get your cotton macrame cord to start your beautiful project
Cotton Macrame Cord Take the first step towards building your incredible project today.
Showcase Your Handmade Charm
You’ve successfully completed your very own DIY Macrame Plant Hanger! You now have a unique piece of home decor that is both beautiful and functional, adding that perfect touch of handmade texture and bohemian style to your space.
Every time you look at this piece, you’ll be reminded of the joy of creating something with your own hands—the true spirit of Cozy Crafted.
Now, tell us: What plant are you putting in your new macrame hanger? Share a photo of your creation in the comments below!
Love DIY? Don’t miss out on our upcoming easy projects! Follow Cozy Crafted on Pinterest and save this tutorial for your next craft day!