
The trend of crisp, perfectly uniform walls is giving way to a desire for organic texture and depth. The DIY Limewash Paint Technique is the ultimate expression of this shift, transforming a flat surface into a high-end, velvety finish that feels ancient, natural, and utterly Cozy Crafted.
Limewash is a traditional mineral paint, made primarily from crushed, burned limestone (calcium hydroxide) and natural pigments. Unlike modern acrylic paints, which sit on the surface, limewash works by soaking into the substrate, allowing the wall to “breathe” while creating its signature subtle, multi-tonal, and slightly chalky effect. The beauty lies in its imperfection: the visible, fluid brushstrokes and color variation create a soft, cloud-like ambiance.
This guide provides the complete blueprint for mastering the DIY Limewash Paint Technique, ensuring you achieve that luxurious, natural finish—even on modern drywall.
🧱 UNDERSTANDING LIMEWASH: THE SCIENCE OF TEXTURE
Limewash is a sustainable, breathable paint that relies on a chemical process called carbonation (where the lime reacts with $\text{CO}_2$ in the air to revert to limestone) to bond with the wall.
| Feature | Limewash Paint | Traditional Acrylic/Latex |
| Finish | Soft, chalky, matte, and highly textured/mottled. | Flat, smooth, plastic-like film. |
| Breathability | High; allows moisture to escape (ideal for old homes). | Low; seals the wall, potentially trapping moisture. |
| Toxicity | Low; natural, eco-friendly, and non-toxic (once cured). | Contains VOCs (Volatile Organic Compounds) in many formulas. |
I. PREPARATION: THE FOUNDATION FOR SUCCESS
The success of the DIY Limewash Paint Technique is 80% preparation, especially when painting over modern surfaces.
1. Surface Requirements and Priming
Limewash needs a porous, absorbent mineral surface to bond correctly.
- Ideal Surfaces: Bare plaster, brick, stone, and unpainted concrete.
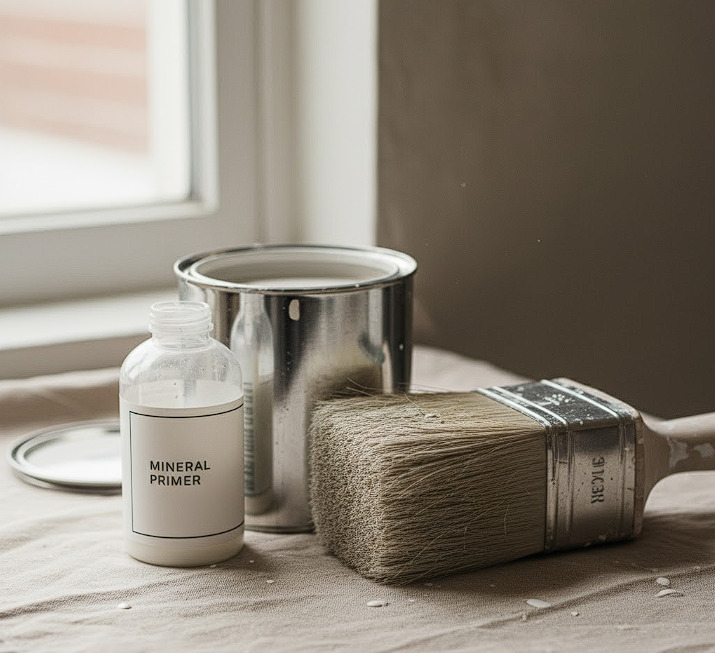
- The Drywall Dilemma: If your walls are standard drywall or are painted with conventional acrylic/latex, you MUST use a Mineral-Based Primer or a specialized limewash prep coat. This primer creates the porous base needed for the limewash to penetrate and absorb correctly. Skipping this step will result in poor adhesion and a thin, watery look.
- Prep Work: Sand down any glossy or semi-gloss paint and patch any large holes. Limewash is thin and will highlight any imperfections—though minor inconsistencies actually add to the character.
2. Tools and Mixing
- The Brush: Forget the roller. The signature texture requires a wide, stiff-bristle block brush (often 4–6 inches wide). Rollers flatten the texture, defeating the purpose.
- Mixing: Limewash pigment tends to settle quickly. Stir constantly throughout the entire application process (not just before starting) to ensure the color remains consistent and the finish is rich.
- Dilution (Optional): Many brands are applied 1:1 (one part limewash to one part water) for the first coat to thin the paint and aid absorption.
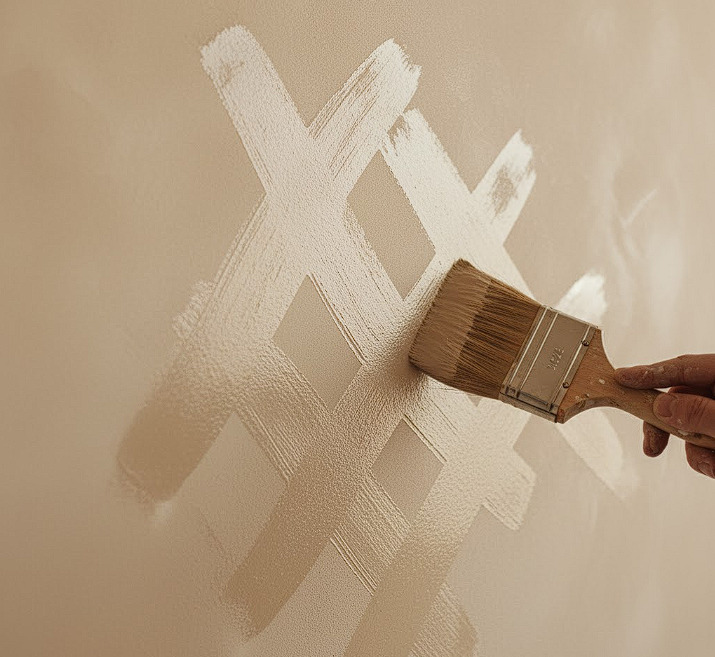
II. APPLICATION: MASTERING THE CROSSHATCH STROKE
The technique is counter-intuitive to traditional painting—it should be fast, loose, and imperfect.
3. Applying the First Coat (The Base)
The first coat acts as the primer and the color base.
- Technique: Use a large block brush and apply the paint in loose, spontaneous ‘X’ or crisscross motions. The goal is not to achieve uniform coverage. It should look like a thin, transparent wash that allows the primer or base coat to show through.
- Coverage: Work quickly in small sections (about $1\text{m}^2$) to maintain a “wet edge” and prevent harsh lines where you stop and start.
- Drying: Allow the first coat to dry completely—usually 2 to 4 hours, depending on humidity. Limewash lightens significantly as it dries. Do not judge the final color until it is completely dry.
4. Applying the Second Coat (The Texture)
The second coat is where the signature, cloud-like texture truly appears.
- Goal: Apply the second coat using the same loose, random ‘X’ or circular strokes. This time, focus on blending the shapes together, but still allow some of the first coat’s variation to show through. The crosshatch pattern creates the depth and mottling.
- Blending: Dip your brush lightly. Work quickly and keep your movements broad. If the limewash starts to run or drip, simply use your brush to work the excess back into your pattern.
- Thickness: Apply thinly. Applying too much paint (or over-brushing) can flatten the texture or cause cracking. The second coat should look fluid and transparent, almost like a stain.
- Optional Third Coat: Only apply a third coat if you need slightly deeper coverage, but remember that too many coats can remove the intended variation.
III. DESIGN INTEGRATION AND SUSTAINABILITY
The Limewash technique is more than just a paint job; it’s a design statement that aligns with high-end, organic aesthetics.
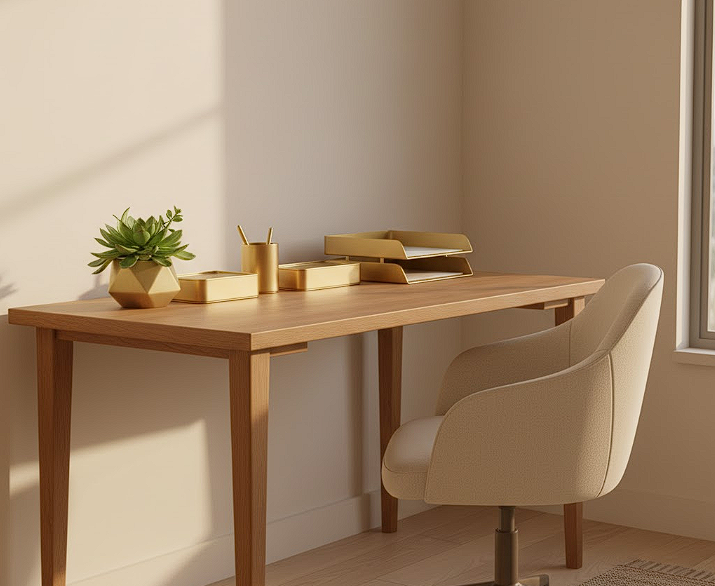
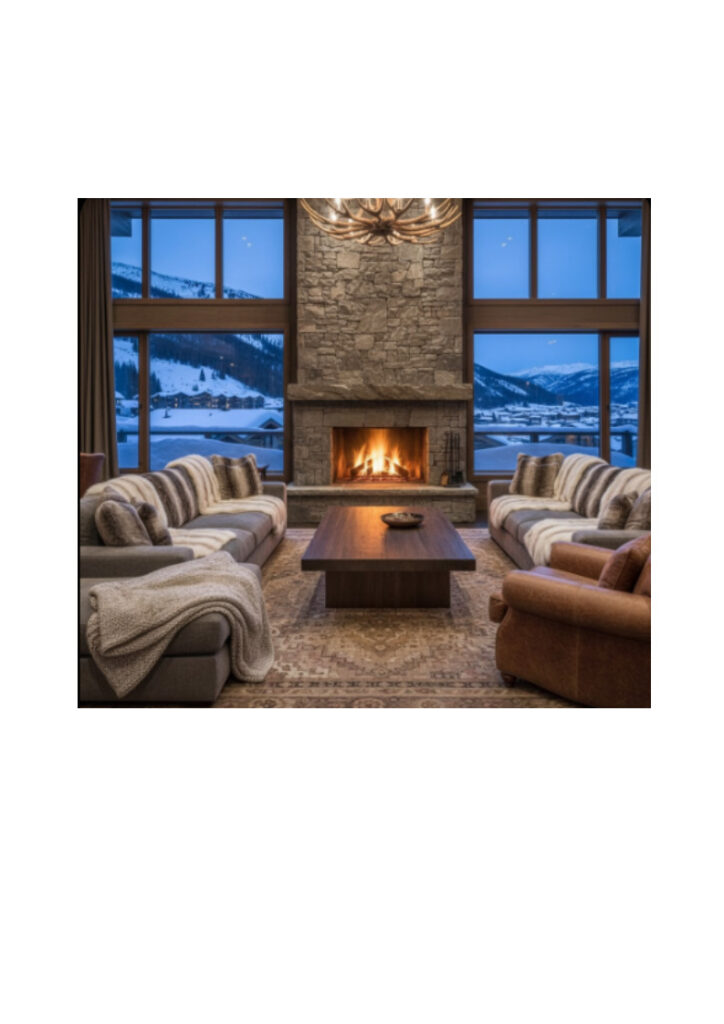
5. Pairing with Cozy Decor
The soft texture of limewash makes it the perfect backdrop for other textural elements, amplifying the cozy feel.
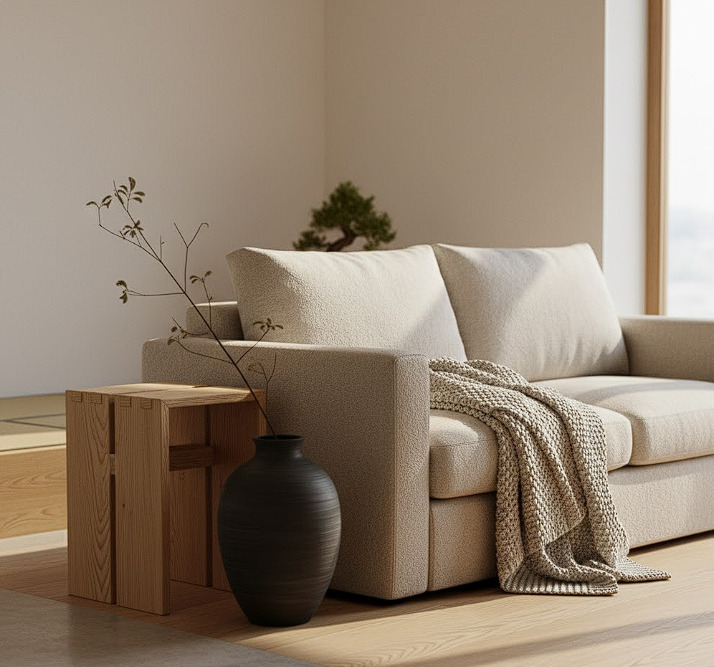
- Earthy Palette: Limewash looks incredible in neutral, earthy tones—soft beige, pale terracotta, muted greens, and warm grey. This palette pairs perfectly with our Earthy Home Decor Ideas.
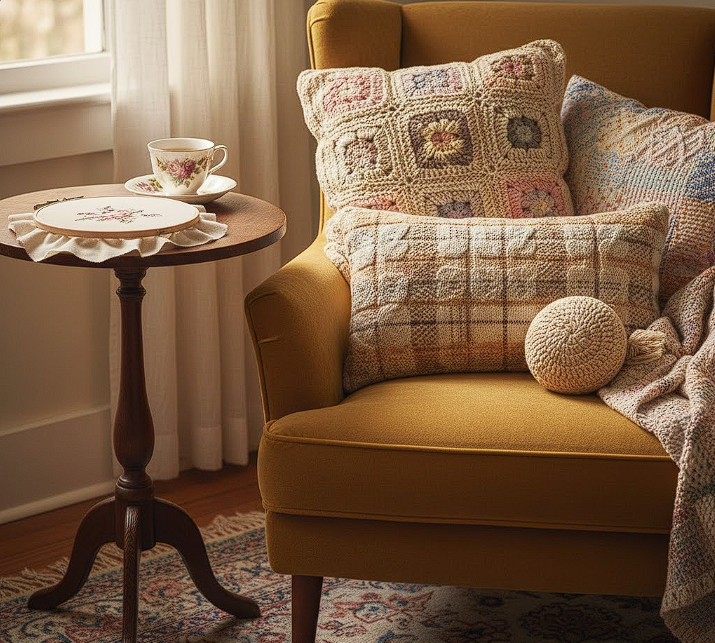
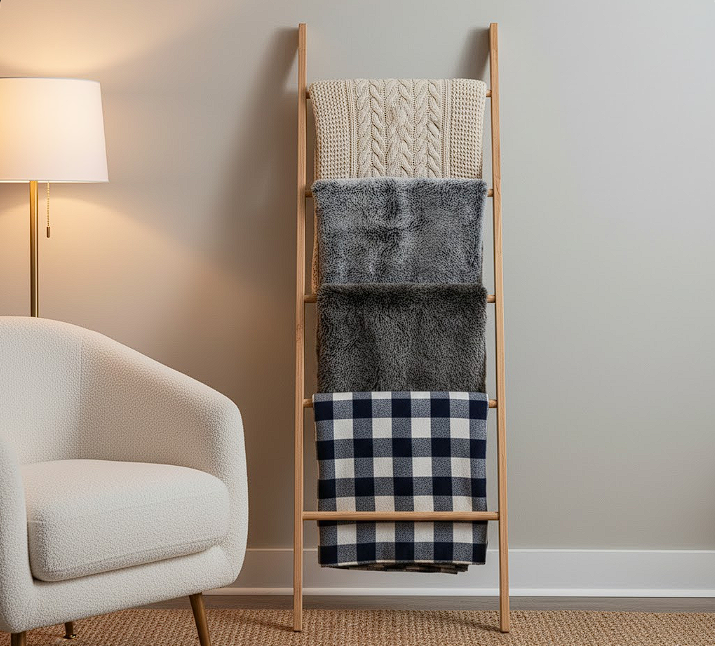
- Textile Contrast: The matte, chalky wall beautifully contrasts with high-texture fabrics like the chunky knits and velvet discussed in our Ultimate Winter Textures Guide, adding immediate depth.
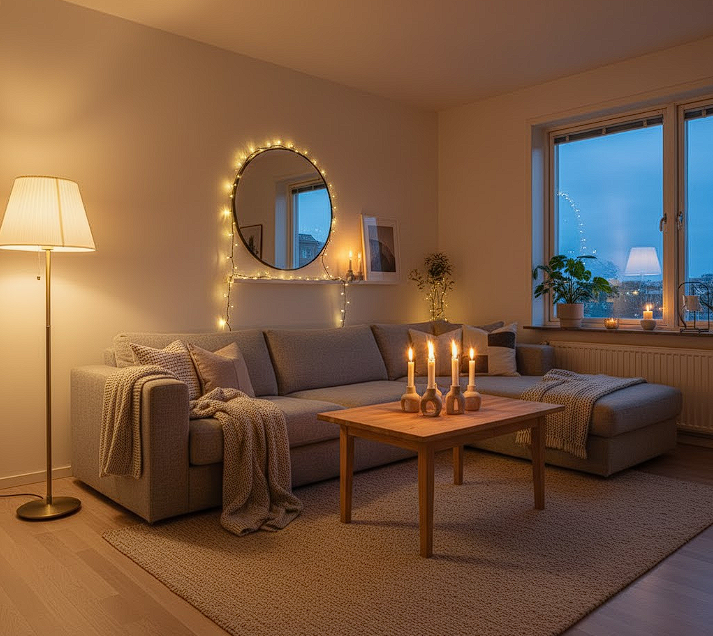
- Lighting: The textured wall surface interacts beautifully with low-level, warm light. The soft glow from Ambient Lighting for Hygge will highlight the subtle variations and brushstrokes.
6. A Sustainable Choice
Choosing limewash aligns with a focus on sustainable and natural living, much like our DIY Pallet Furniture Ideas.
- Breathability: Its high breathability makes it ideal for older properties or walls that need to manage moisture naturally (though modern drywall still requires proper priming).
- Non-Toxic: The natural, low-VOC composition contributes to better indoor air quality, supporting the health principles of a Cozy Crafted home.
Expert Resource: Limewash for Historic & Sustainable Homes
Limewash is often praised for its ecological properties and its ability to protect older buildings. To explore the long-term, sustainable, and protective benefits of using traditional limewash on porous materials like masonry and plaster, you can read more about its application in heritage preservation and natural building here.
Conclusion: Texture That Tells a Story
Mastering the DIY Limewash Paint Technique allows you to bring a custom, artisanal finish into your home without the designer price tag. It’s a joyful project precisely because it doesn’t demand perfection; it celebrates the spontaneous beauty of texture and organic movement.
By embracing the crisscross strokes and the velvety finish, you create a wall that doesn’t just hold your decor, but actively contributes to the calm, unique story of your home.
Which room will you transform first with the Limewash technique—a cozy bedroom or a serene living room? Share your color choice in the comments!
Love high-impact DIY? Save this Limewash Guide on Pinterest and follow Cozy Crafted for sophisticated home project ideas!


Uma resposta