As the days shorten and the first crisp frost dusts the landscape, the focus of the Cozy Crafted home shifts inward. While we enjoy the warmth of indoors, we must not forget the living elements of our outdoor spaces—especially container gardens. Winterizing Potted Outdoor Plants is perhaps the most crucial task for any intentional gardener; it is the single act that guarantees the lush beauty of your terrace, balcony, or entryway will return next spring.
Container plants are highly vulnerable. Unlike those planted directly in the ground, their roots lack the natural insulation of the earth, making them susceptible to freeze-thaw cycles that shatter pots and kill roots. The key to successful overwintering lies in understanding the Dormancy Directive: protecting the roots without forcing new growth.
This essential guide will provide a structured, step-by-step blueprint for preparing your containers, selecting the right storage environment, and mastering the minimal care required during the cold months, saving you the expense and heartache of replacing prized plants next season.
🧊 PHASE 1: PRE-FROST PREPARATION
Timing is everything. Waiting until after the first hard freeze (when temperatures drop below 28°F) is often too late. Start the preparation process when night temperatures consistently drop below 40°F.
1. The Inspection and Cleaning Protocol
Before moving any plant indoors or to shelter, a strict clean-up is necessary to prevent pests and disease from hibernating with them.
- Pest Check: Thoroughly inspect the underside of leaves and the top inch of soil for signs of pests (spider mites, aphids). Treat them now with insecticidal soap or a gentle horticultural oil, if needed. Do not bring live pests indoors!
- Pruning (Minimal): Remove all dead, yellowing, or damaged foliage. For deciduous shrubs, you may prune back larger stems, but avoid heavy pruning—this stimulates tender new growth that cannot survive the cold. The goal is rest, not regrowth.
- Stop Feeding: About 6-8 weeks before the first expected frost, completely stop fertilizing. This signals to the plant that it is time to slow down and enter dormancy.
2. The Water and Drainage Rule
The greatest threat to a container plant in winter is not the cold, but being perpetually waterlogged.
- Final Deep Soak: Before the first hard frost, give hardy plants a final deep watering. Moist soil holds heat better than dry soil, providing a temporary buffer against freezing.
- Elevate Pots: Lift all pots slightly off the patio or deck using pot feet or small wood blocks. This ensures that drainage holes remain clear and the container is not sitting in icy water, which can cause cracking.
🏠 PHASE 2: CHOOSING THE OVERWINTERING LOCATION
The storage location depends entirely on the hardiness of the plant and your local USDA growing zone. The goal is to avoid the extreme freeze/thaw cycle.
3. Method A: The Cold, Dark Basement or Garage (The Dormancy Zone)
This is the ideal location for plants that require a true, deep dormancy period (like certain hardy shrubs, large perennials, or tender bulbs like Dahlias).
- Temperature Range: The space should remain cool but not freezing (40°F to 55°F). Do not store dormant plants in a heated living space—the warmth will break dormancy and kill the plant.
- Light Requirements: Dormant plants (those that drop leaves) require minimal to no light. A dark basement or unheated garage works perfectly.
- Grouping and Insulation: Group containers close together near a wall to take advantage of the passive insulation. Cover the grouping with a thick blanket or burlap (avoid plastic, which traps moisture) to create a protective microclimate.
4. Method B: The Sheltered Outdoor Location (The Hardening Zone)
For marginally hardy plants (just outside your zone) or those too large to move indoors.
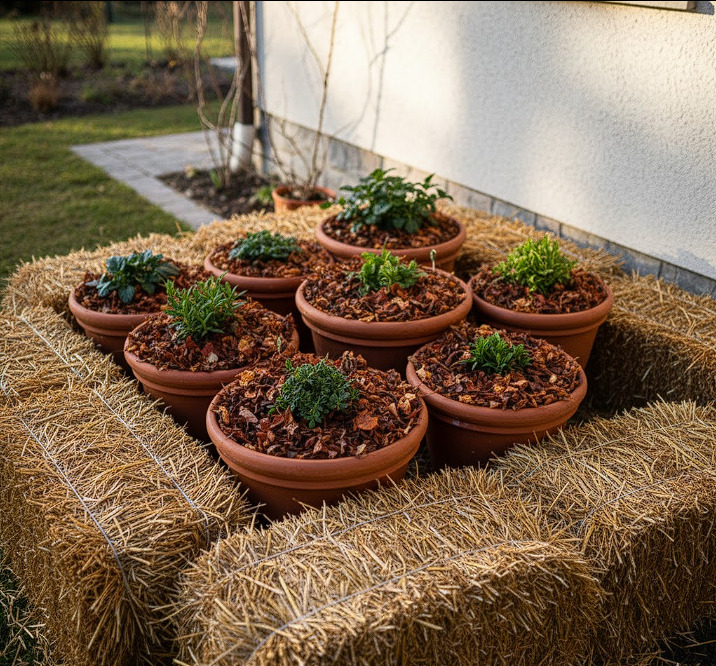
- Building a Buffer: Cluster pots tightly together against the warmest side of your house (usually the south-facing wall) or under a covered porch.
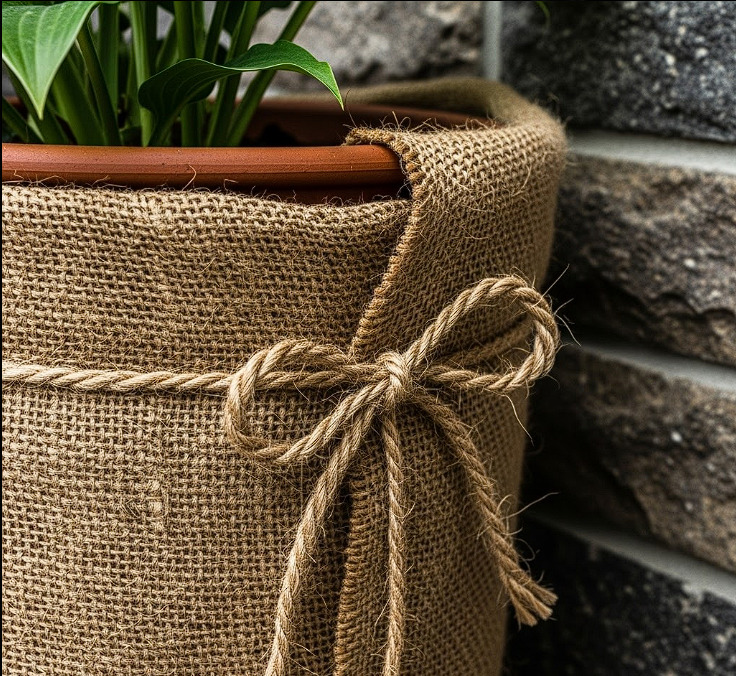
- Insulate the Roots: Wrap the entire container with bubble wrap, straw, or several layers of thick burlap. Focus the insulation around the pot’s sides, as the roots are the most sensitive part.
- Mulch the Top: Apply a 2-inch layer of dry mulch (straw or shredded leaves) to the top of the soil to stabilize the temperature and moisture within the container.
5. PHASE 3: WINTER CARE AND SURVIVAL
Dormant does not mean dead, but it does mean minimal maintenance. Overwatering and over-caring are the biggest winter mistakes.
6. The Minimal Watering Schedule
A dormant plant uses very little moisture.
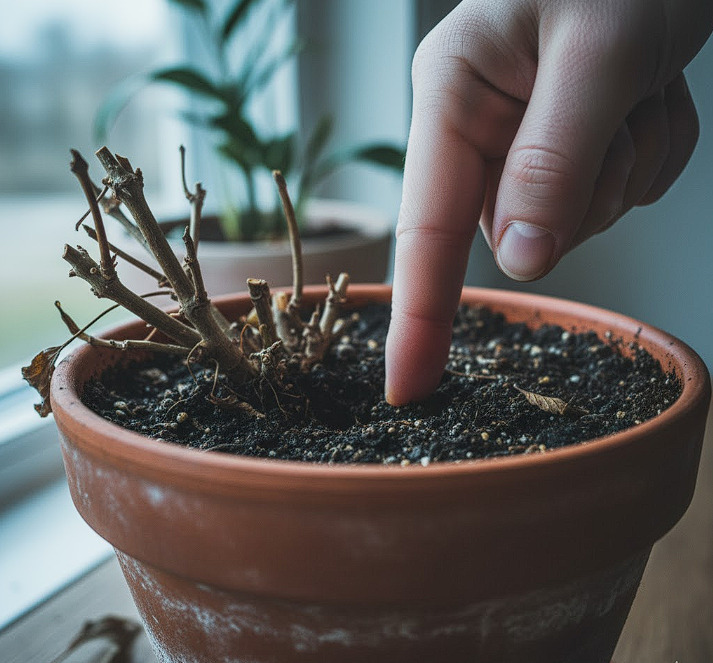
- Check the Depth: Water only when the soil feels completely dry about 2 inches deep. This might be once every 3-4 weeks for dormant plants stored in a garage.
- Timing: Water only on days when the temperature is above freezing, and water slowly to ensure absorption. The soil should be slightly moist, not saturated.
- No Fertilizer: Do not fertilize the plant until late winter or early spring when you see the first signs of new, active growth.
7. Protecting the Containers
Ceramic, terracotta, and glazed pots are highly susceptible to cracking when wet soil freezes and expands.
- Empty and Store: If a container is empty, clean it, turn it upside down to prevent moisture accumulation, and store it in a dry shed or garage.
- The “Flex” Trick: For extremely valuable pots that must remain outdoors, you can line the inside walls with bubble wrap before potting next season. This provides the necessary flex to absorb the pressure of freezing soil, preventing cracks.
8. SPRING REVIVAL
When the danger of the last hard frost has passed (usually late March or April), it’s time to reverse the process.
- Slow Acclimation: Do not move plants directly from a dark garage into full, bright sun immediately. Acclimate them gradually by placing them in a sheltered, shady spot outdoors for a few days.
- Pruning and Feeding: Once new leaves start to emerge and the plant is back in its final sunny location, you can prune any dead winter growth and apply a diluted liquid fertilizer to encourage vigor.
Expert Resource: Understanding Root Tolerance
The survival of your potted plant depends on the root zone temperature, not the air temperature. Roots generally require the temperature to stay within 15°F of the plant’s normal hardiness zone. Since the soil in a pot freezes much faster and colder than the ground, insulation is non-negotiable. To accurately determine your specific hardiness zone and the corresponding root protection required for your region, refer to the USDA Plant Hardiness Zone Map here.
Conclusion: Rewarding the Rest
Successfully Winterizing Potted Outdoor Plants is an act of proactive stewardship. It allows your greenery to enter a necessary period of rest, ensuring they return in the spring healthier, more vigorous, and ready to contribute to your home’s seasonal beauty once again. By following the Dormancy Directive, you transform a chore into a rewarding part of your annual Cozy Crafted cycle.
Which of your pots—the sturdy plastic, the delicate ceramic, or the insulated wooden box—requires your attention first this season? Share your plan below!
Love seasonal gardening tips? Save this guide on Pinterest and follow Cozy Crafted for effortless outdoor and indoor living ideas!